I’m currently using a phone for navigation purposes. I’m using this for 3 main modes of navigation:
- Offroad tracks
- Curvy touring routes on tarmac
- A->B navigation
Why I’m using a phone for motorcycle navigation
Before I switched to a phone setup I have used dedicated motorcycle GPS units. Specifically the Garmin Zumo 660 and TomTom rider. The benefit of these units is that their screens are very bright and can be operated with gloves. They are also built very rugged to withstand life on a bike. What I don’t like about these units is their limited use case: you can only do what the manufacturer intended. Since the manufacturer typically does not provide a lot feature updates you’re pretty much stuck with the features available when you buy it. Also, these units are running on outdated technology when you buy it which only becomes more apparent over their lifetime. This specifically means these devices are pretty slow.
Caveats
Using a phone on a bike is a sensible way forward, but comes with some caveats:
- The vibrations on a bike will kill the tiny moving parts in a phone, specifically optical image stabilization in the camera. Some mounts will absorb the vibrations though.
- Most phones can’t be operated with gloves on
- Expensive phones are a target of theft
- Phones have limited waterproofing
- Visibility of the screen is not always as bright as you want it to be.
My current setup
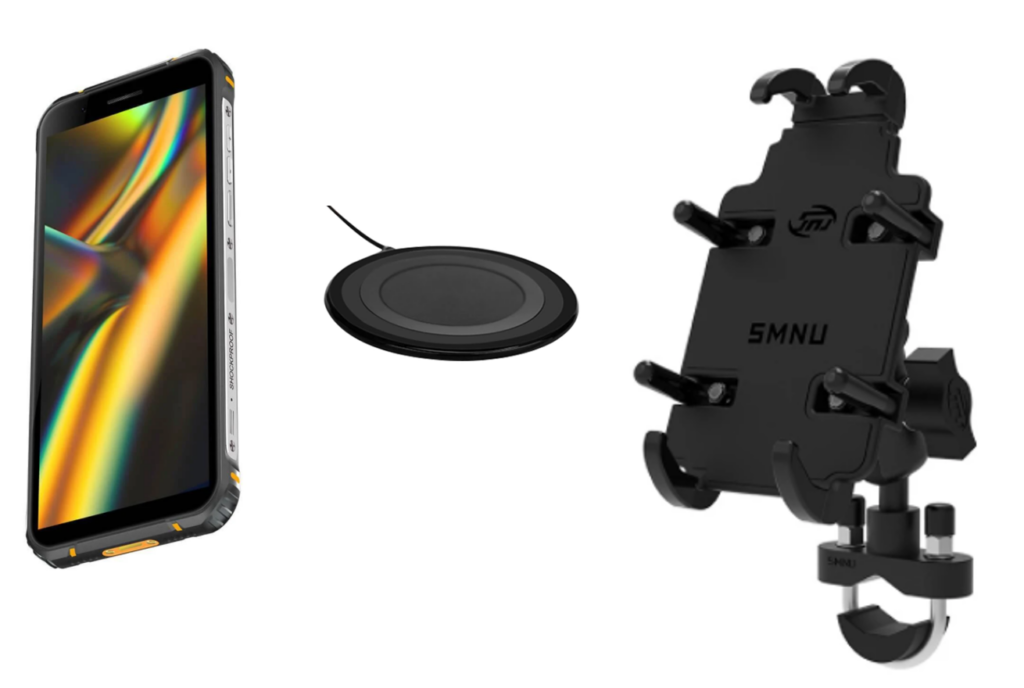
I am currently using the Blackview BV5100 phone that is a rugged and shockproof Android phone. It is waterproof and can be charged wirelessly. The screen is (just) bright enough and it’s affordable at 133 euro.
I’m using a mount that really grips the phone from all sides (also see everide’s video on this). I’ve used the x-grip type of mounts but inevitably the phone would fall out when you drop the bike ;). I’ve attached a QI charger in the mount so the phone charges when I put it in the mount; no hassle with cables that won’t load when it’s wet.
Apps I’m using
I’m using different apps for different purposes:
- Kurviger is awesome for curvy routes and has beautiful maps. It can also plot GPX tracks.
- Osmand is pretty awesome for offroad navigation. It somehow can provide directions based off GPX tracks. It can work in offline mode and has a special ‘offroad mode’ for map view that highlights tracks to be more prominent. Osmand is also very useful for (offline) A->B navigation.
- Wikiloc is very useful for managing GPX tracks
- The TET app provides access to the TET tracks in Europe
- Google Maps is unbeatable for A->B navigation, especially in urban areas
Handlebar buttons
The main annoyance I had with using a phone is that you can’t use it with your gloves on. The good news is that apps like Kurviger and Osmand can be controlled using a (bluetooth) keyboard. They respond to arrow keys for panning, + and – for zooming and c for centering.
Since I don’t want to lug around a keyboard I used an Arduino to emulate a bluetooth keyboard. I connected buttons to a 3D-printed housing conveniently positioned on the left side of the handlebars. This allows me to zoom and pan on the phone without taking my hands off the handlebars! You can see it in action below:
If you’re interested in making (or buying) your own set of handlebar buttons, go the BarButtons page