Osmand is a great navigation app, you can read more about it here: https://osmand.net/.
There are however a few things that are not as intuitive to use, so i’ll put them here:
Managing larger sets of GPX files and sharing with your computer
If you have a set of GPX files and want to view them in Osmand, you have to get them there. One way is to synchronize from Google drive so you have the convenience of having the tracks available both on your phone, and elsewhere.
Osmand (on Android) shows tracks in ‘my places > tracks’ when they are stored in /data/net.osmand.plus/files/tracks. Autosync is an Android app that syncs between a location in Google Drive and your Android filesystem. Combining these two makes life really easy:

Default settings
These are more of a reminder to myself, since I always get lost in the Osmand settings:
Hamburger > Navigation > Options > Navigation settings > Map during navigation
- Auto-center map view: disable (use C keyboard to do this manually)
- Auto-zoom map: disable (use zoom buttons on keyboard) or set to mid-range when driving on the road
Hamburger > Configure Map
- Map style: Offroad (to highlight unpaved roads) or Osmand when driving on the road.
- Map mode: light sensor
- Terrain: Hillshade
- Contour Lines: On
Hamburger > Configure profile > General settings (doe separately for every profile)
- Display position always in center: off (so that the navigation location goes to the bottom of the screen. Sometimes requires a restart of Osmand)
- Fullscreen mode: on
- Volume buttons as zoom: enable (to use the external handlebar buttons)
- External input device: Keyboard (to use the external handlebar buttons)
- For driving profiles: Map orientation: Movement direction (can be changed with D on external keyboard)
Hamburger > Plugins
- Trip recording: enable to use the recording feature
- Contour lines
- Osmand development
- Transparent status bar
Hamburger > Configure screen
- Right panel
- Speed limit: on
- Trip recording: on (to quickly see if a GPX is recording the track)
- Current time: on
- Altitude of current location
- Battery level
- Compass
Multitrack GPX
I like to ride the TET, and they share their GPX tracks in 1 file containing multiple segments. This is a bit of a pain to use in Osmand, since you can’t really identify or directly address the track segments. It looks like the Osmand devs are working on this, but it’s not ready yet. As of v4.2 multitrack GPX files are split by Osmand if you want, so that’s a huge improvement that makes this section less necessary 😉
Osmand is far easier to work with when you have a single GPX file with a single segment. That way, you can long-press on a segment and navigate it (instead of having to guess what segment it is). Also, since the files are smaller, Osmand appears to be a lot more responsive.
To ease this process you can use script like this that uses the gpxpy library. This script does not store the waypoints and strips the extension info as well (so you can actually use the track color you enable in osmand, instead of the default ‘red’ as seen in many TET tracks). I could not find an easier (online) service to do this.
#!/usr/bin/python3
import re
import gpxpy
import gpxpy.gpx
import sys
gpx_file = open(sys.argv[1], 'r')
in_gpx = gpxpy.parse(gpx_file)
for track in in_gpx.tracks:
print(track.name)
track.extensions = ''
out_gpx = gpxpy.gpx.GPX()
out_gpx.tracks.append(track)
filename = re.sub('[\/\s]','-', track.name) + ".gpx"
out_gpx_file = open(filename, 'w')
out_gpx_file.write(out_gpx.to_xml())
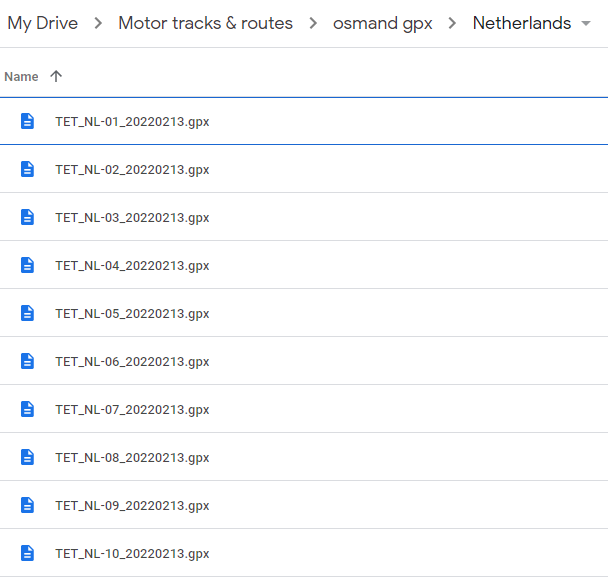
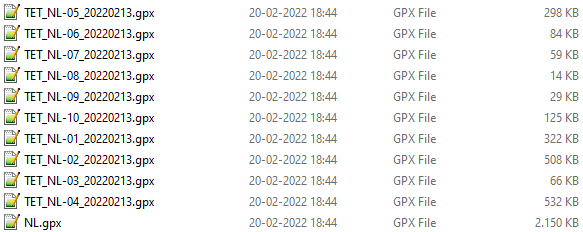
out_gpx_file.close()If you run this, for example, on the NL TET track, you geta a set of GPX files that have the name of the section:
Here you can see Osmand where I selected a single (exported) section and it brings you directly to the contents of the track, ready to navigate. With a multi-track gpx you had to guess which section was selected.
